How To Install A Velux Skylight
FRS Roofing + Gutters
How To Install A Velux Skylight
Installing VELUX skylights can achieve all three of your goals if you enjoy natural light, fresh air, and lower energy costs (who doesn’t?). These are not the skylights of the past; they are high-quality and high-performing. VELUX skylights can also improve your home’s energy efficiency. This thorough tutorial will provide a complete velux skylight installation guide for you.
Why You Will Love to Install Velux Skylight?
VELUX skylights are unquestionably evidence that skylights have advanced significantly! In addition to being exquisitely constructed, these high-tech, premium skylights have three levels of leak protection and, in fact, come with a No Leak Guarantee. Blinds can be added to them, they can be remotely operated with a remote or smart app, and they can be properly treated to help retain their cleanliness and absorb solar heat. VELUX skylights are essentially as good as they look, and to say that they look good would be an understatement!
Stages of VELUX Skylights Installation
The exterior and inside of your home are involved in the actual installation of VELUX skylights, just as they are in the decision of where to place them.
There are two stages for installing velux:
Exterior
Cutting a hole in your roof and installing the skylight is the exterior task. Depending on the shape and depth of the light shaft, the slope of your roof, and the weather, it can take anywhere from half a day to three days.
Interior
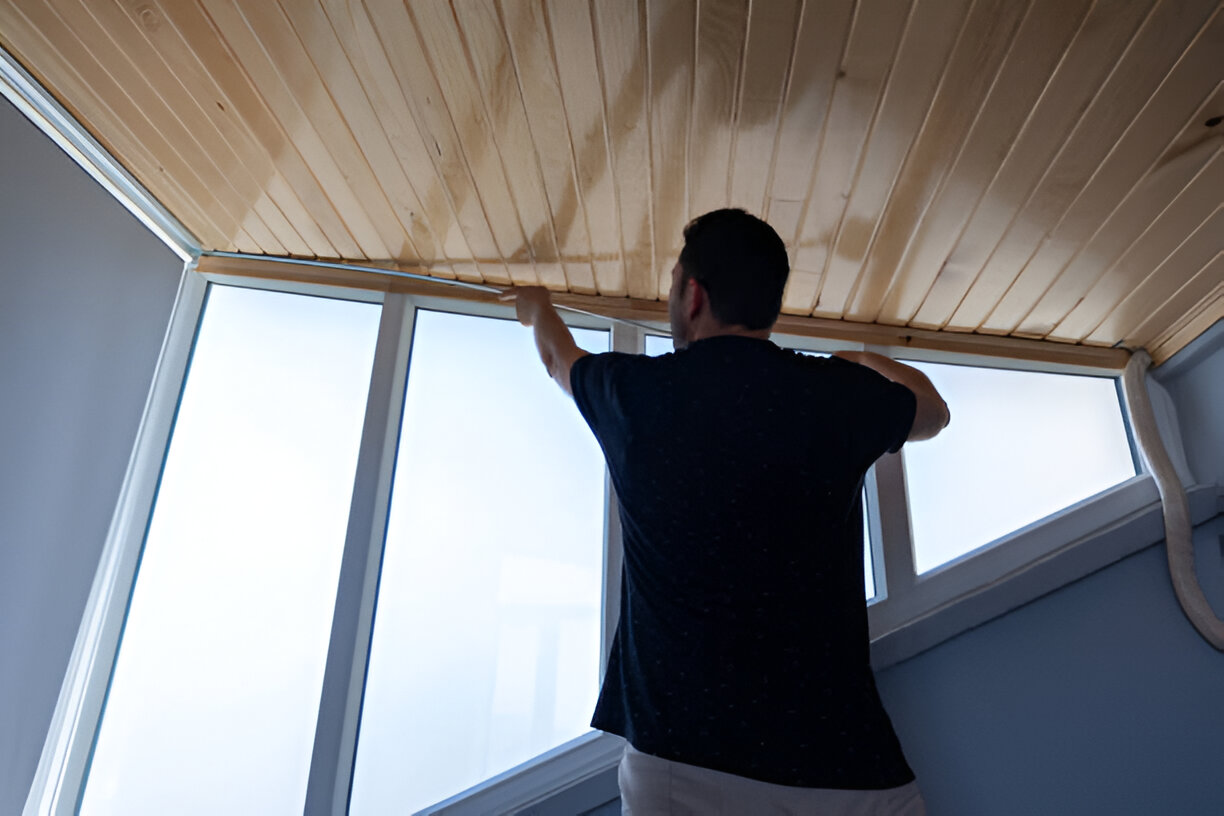
Depending on whether your ceiling is vaulted or flat, this usually takes a half-day per skylight and includes drywall and painting.
10 Steps of How to Install Velux Skylight
1. Things to Know Before Installing VELUX Skylights
It goes without saying that making a hole in your roof is not something you should do carelessly! Hiring a skilled local roofer for installation and seeking professional advice are always the best options. They will possess the expertise to handle a few crucial factors:
- Checking for infractions by consulting the local construction codes.
- Finding out if your roof is made of trusses, which cannot be cut and require a skylight to fit between them, or rafters, which can be reinforced and cut.
- Confirming that there are no concealed obstructions, such as electrical cables or ducts, at the location you select.
2. Tools and Materials You Need
| Tools for VELUX skylight installation | Material for Skylight Installation |
| Hammer or nail gun | VELUX skylight (placed on the deck or curb) |
| Measuring tape | The VELUX flashing kit is necessary for the warranty. |
| Level | Insulation for interior framing |
| Circular saw and reciprocating saw | Shingles and roofing felt that match |
| Drill/driver | Underlayment that is waterproof (typically included) |
| Utility knife | Nails for roofing |
| Chalk line | Paint and drywall (for interior finishing) |
3. Location of VELUX Skylight Installation
Now let’s discuss curb appeal. Traditional skylights have a terrible reputation when it comes to their external appearance, but VELUX skylights’ sleek, technologically advanced design enables a low-profile exterior frame that integrates into your roof rather than detracting from the beauty of your house. However, it matters where the skylight is located.
At dim areas: Ceilings of any height can appear much taller with the use of skylights. They can illuminate dim areas such inner rooms, stairwells, and hallways. A well-placed skylight can draw attention to certain parts of your house or “liven up” a room like the bathroom or closet. But there are other factors to take into account than the interior of your home.
Slope of your roof: The quantity of light your skylight brings in, the time of day you may enjoy it, and the amount of heat it absorbs from the sun are all influenced by the slope of your roof, the angle at which it is positioned, and the direction it faces.
4. Mark the Opening
Mark the opening of the skylight from the inside of the attic or roof. Create an outline between the rafters using the skylight’s measurements. Now drill pilot holes to the roof surface through each corner. Mark the cutout area on the roof with chalk lines.
5. Trim the Roof’s Opening
When operating on steep or elevated rooftops, wear fall protection gear. Using a circular saw, cut along the chalk lines from the roof side, being careful around wires and nails. The roof decking piece and any nearby shingles should now be removed.
6. Frame the Opening of the Skylight
Put headers in the opening’s top and bottom:
Match the existing rafters with framing lumber. To preserve structural integrity, fasten the headers to the nearby rafters using screws or nails. It’s time to use a level to make sure the opening is square.
7. Put the Skylight Unit in Place
There are two types of VELUX skylights:
Deck-mounted: flush with the roof.
Curb-mounted: an elevated frame for low-slope or flat roofs.
While velux skylight installation, use the screws or nails supplied by the manufacturer, insert the skylight into the opening. Make sure the unit is sitting flat and that all of the corners are level.
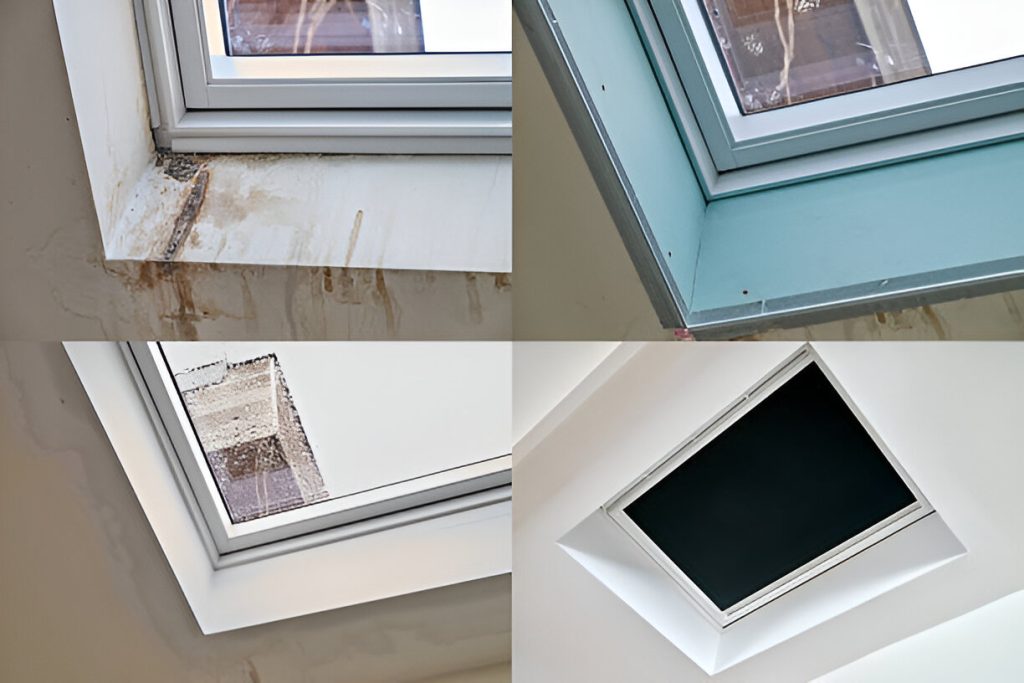
8. Put on a Waterproof Underlayment.
VELUX mandates the installation of their adhesive-backed underlayment, which comes with flashing kits, to stop leaks:
Cover the skylight frame with it, extending approximately 6 inches past each edge.
To ensure proper water flow, start with the bottom, then the sides, and finally the top.
9. Set up Flashing
This is the most crucial step in stopping leaks. VELUX flashing systems are made especially for their skylights and consist of the following:
- Flashing piece at the bottom
- Flashing bits on the sides
- Shingle step flashing
- Flashing at the top
To keep water away from the skylight, each piece is layered like shingles.
10. Reattach the roofing components.
To fit around the flashing, replace or cut the shingles and securely nail each component.
Use roofing cement to plug nail holes, make sure there are no openings or overlaps that can let moisture in.
Ending Note
VELUX is one of the most reputable brands in the skylight sector, renowned for its creative designs, energy-efficient products, and leak-proof technology. To brighten any size space, VELUX skylights are available in a variety of sizes, including sun tunnels. These skylight installations can totally change your house. Coming through the end, now you can confidently know how to install a velux skylight through this article. To install yours, contact the FRS roofing crew right now.
This Post How To Install A Velux Skylight appeared first on this FRS Roofing + Gutters and is written by seo rank
via FRS Roofing + Gutters frsroof.com/how-to-install-...